| NSU Home | NSU Store | In The Current Issue... | Contact Us | | |
Go | New | Find | Notify | Tools | Reply |
| Custom-Made Cards | Login/Join |
Platinum Card Talk Member |
.This message has been edited. Last edited by: Kennywood, ____________________ Lucy Van Pelt: How can you say someone is great who's never had his picture on bubblegum cards? | ||
|
| Bronze Card Talk Member |
Hey man...it's really going to depend on the design of the card. I've used the same process on the ones I've done, but I honestly don't know if how I do it is the most efficient. I also use paint.net, and the steps may be different in photoshop. | |||
|
Silver Card Talk Member |
I use a program called fotoflex, when I get a chance I will make up directions on how I do mine. ____________________ Ok 1 more pack then I'am done...no really..wait how many are left in that box? http://1000thghostcards.weebly.com/ | |||
|
Silver Card Talk Member |
I would also love to see how this is done. I really want to get the cast from La Femme Nikita to sign cards for me as there will never be a set and none of the actors are around much any more. | |||
|
| Silver Card Talk Member |
ok here is wow i make my cards. I am doing cards for all the living voice actors from Disney movies and started working on Hercules yesterday so I will use that as my example. So I am going to make a card for James Woods. First here is the site I use http://fotoflexer.com/ It is a free site and easy to get around in. Next I need to find a background that I want to put my picture on. Using Google a found a nice background shot from the movie or if you want you can also get a screen shot off of a dvd. 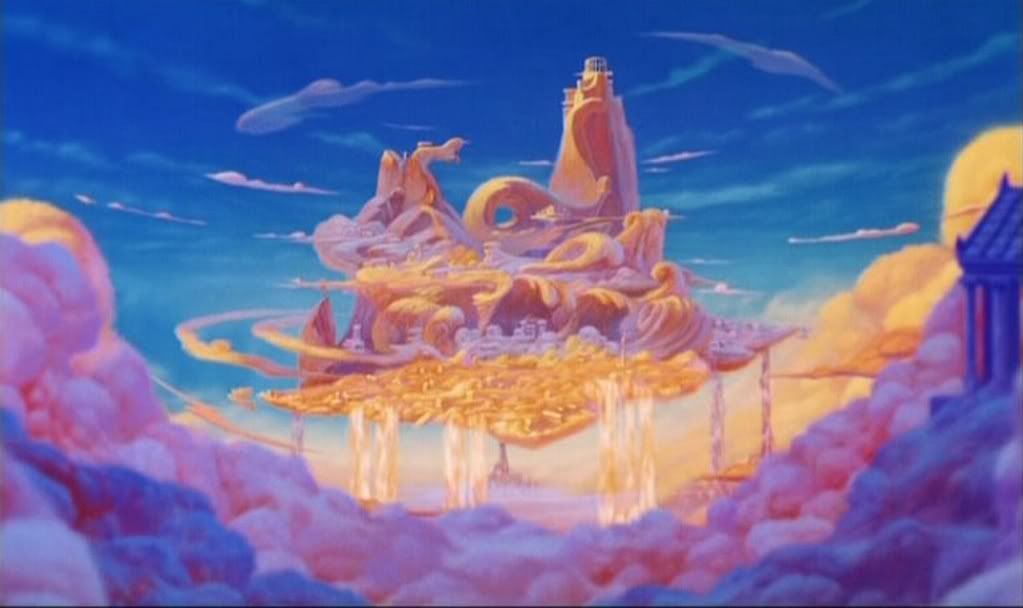 Next I find a good picture of the tittle of the movie that I can cut out and place on the card. 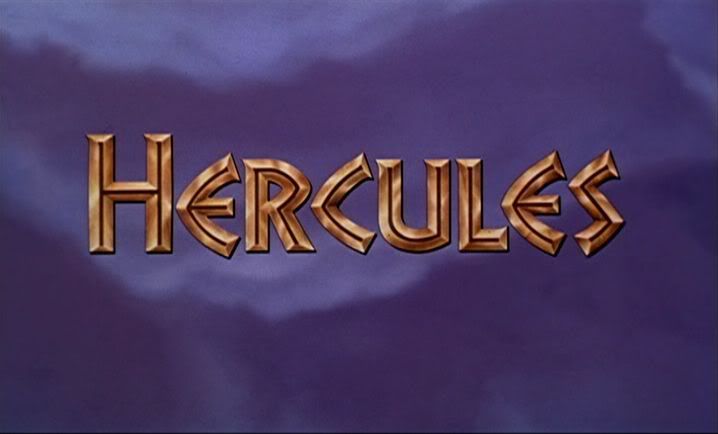 Then I find a shot of James Woods from the film again you can use Google or a screen shot. 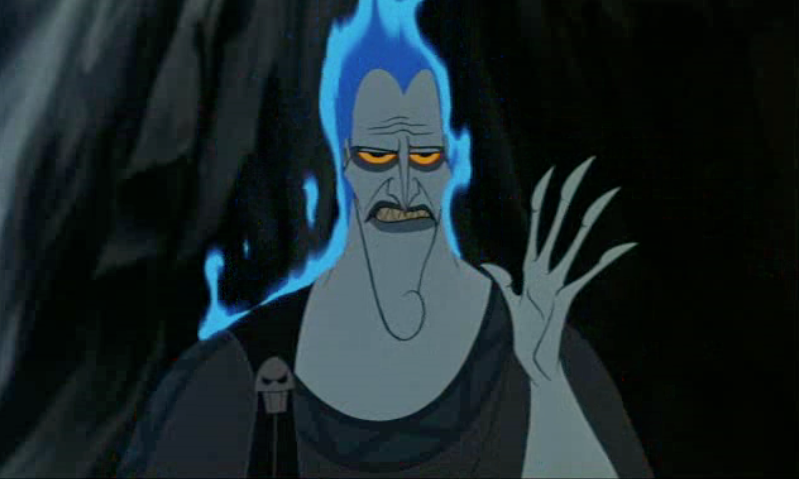 Now I am ready to begin. 1. Open up fotoflex and upload the background. 2. Upload the title picture. This will let you play with the sizing of the background. I have a standard inkworks auto card that I am using to try and make sure that the size is about the same. Just pull the edges to match the inkworks card and you should be fine. Once this is done you can start cutting out the title. 3. To cut out the title click on the title picture to bring it to the front and hit the tab that says Geek. This brings up a list of 7 differant ways you can play with the picture. What we are looking for is Smart Cutout. Click on it and it will up a new window with just the title picture in it. There are two buttons to use one is Keep and the other is Delete. When you use Keep it will make any area you want to keep in green. When you use Delete it will mark the area in red. You can re-size the picture or the brush to get in as tight as you want, but I find that just getting close is often good enough, you don't have to be precise because you can go back and fix things in the next step. Once you have the basic out line hit the button marked Predict Unknown Area. this should clean off anything in red and leave what was in green. Now you can use the Keep and Delete buttons at will to add or remove items back into the picture. If you cut off a small bit just hit Keep again and you can re-brush that bit of the picture back. Also this will allow you to clean up the edges by deleting things you missed. To clean up logo's I zoom in to 300% which lets you remove pixels and really make it look nice. 4.Once you have the title just as you want it hit OK and you will return to the main screen. 5.Now you can re-size and move the title to any where you want it. 6. To add a place for the star to sign hit the Decorate button then the Text button. This will place a text box which you can re-size and place where ever you want. 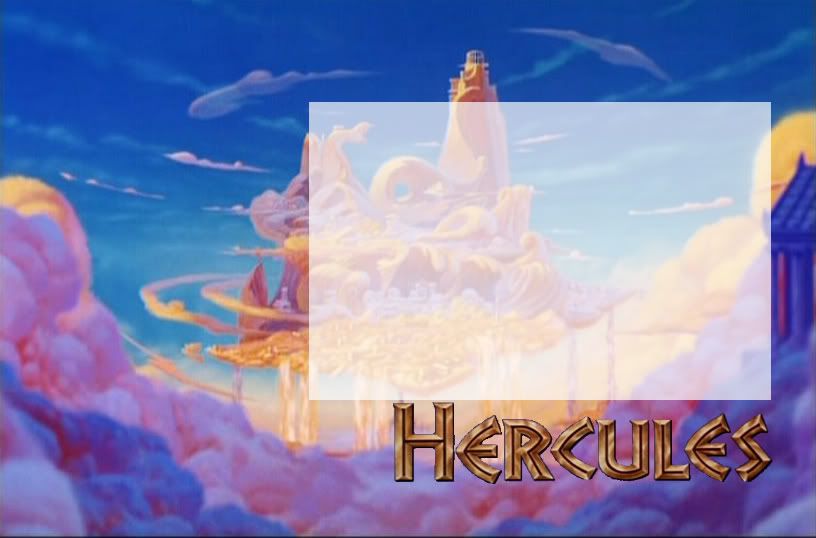 7.To add a picture of the actor in our case James Wood. You need to hit the Layers tab and then Add Images. This will drop the picture of James on the top of the stack so to say. 8. To cut out the star you need to go back to the Geek tab and now you can either use Smart Cutout like you did for the title or you can use Smart Scissors. Smart Scissors are great for picture will well defined edges. Click on the pic then hit Smart Scissors. You can now begin at any edge and "cut" around the picture you want to remove. You must go completely around the object and connect the "dots". Once that is done hit Create Cutout, and your star should be free of its background. 9. Now you can re-size and move the star to any place on the card. 10. The last step I do is to add another text box this time with the actors name and the part they played. 11. If at any point you need to move the layers around just hit the Layer key pick the picture you want to move and hit Pull Foreword or Push Back.This will let your picture of the star be up top of the signing area or however you want to do it. My finished card for him looks like this: 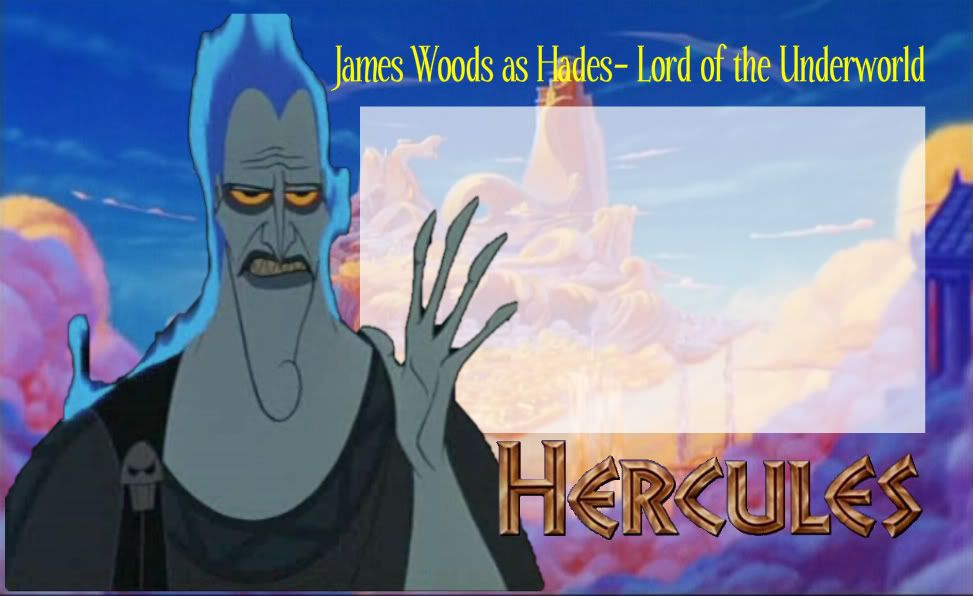 Now as far as printing and what goes on the back that is up to you. I get mine printed from artcow. They have a set of 54 black cards that they will add pictures to and print up. Here is the link to the cards. http://www.artscow.com/photo-g...-cards-rectangle-394 for these cards I am putting this picture and the back. But you can do anything you want. I made a set of Supernatural Season Four cards which look like this: Picture on the front: 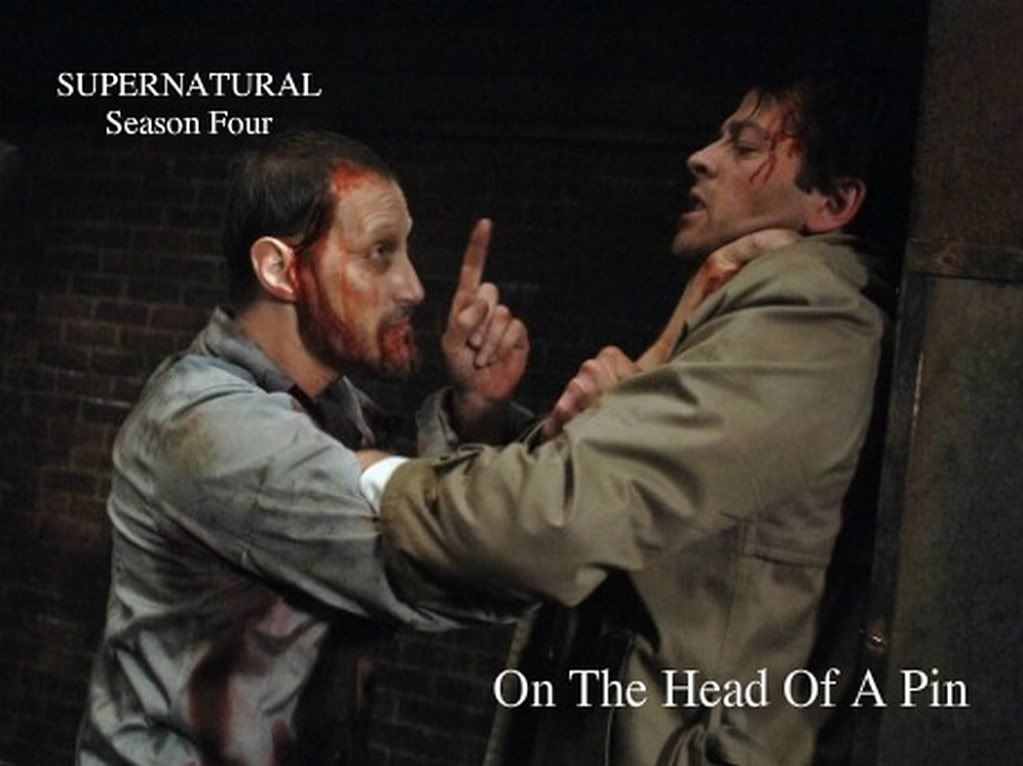 and text on the back: 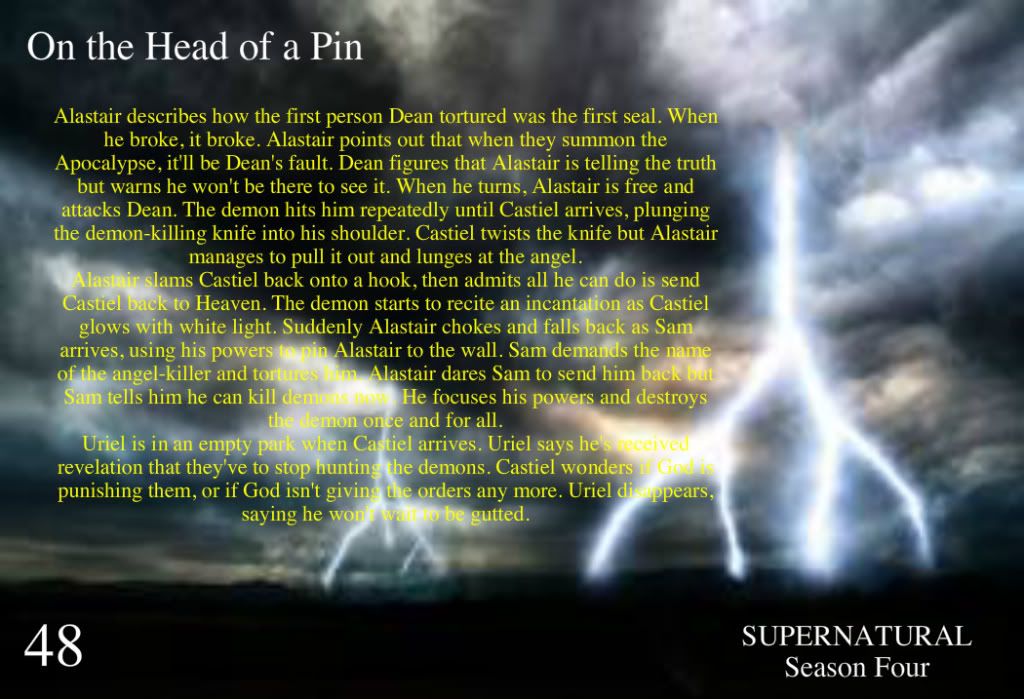 So there you go hopefully this helps I really am not that good at computers so I hope I didn't make this to hard to understand. If something is not clear just ask and I can try and help. ____________________ Ok 1 more pack then I'am done...no really..wait how many are left in that box? http://1000thghostcards.weebly.com/ | |||
|
| Bronze Card Talk Member |
Nice...that site's cutout feature seems really nice. I may give it a shot as the lasso select in paint.net isn't that great. | |||
|
Silver Card Talk Member |
thanks Chris, that was really interesting. I hadn't realised you can do it all online and then send off for printing - I might have to try it myself. | |||
|
| Silver Card Talk Member |
Thanks Chris, I didn't even know you could get someone to print them all for you, that was my biggest concern really, printing them I think I'm gonna have a go and see how I do Okay, I've been playing around with this fotoflexer and it's quite fun actually. Just a bit stuck on how you make the box where the actor signs see through, so you can still see the image behind it? If I press transparent, the box disapears because there is no writing in it. Please help Also another question. How do you go about getting images the same size so they can all be printed on cards? All the images I have are different sizes and then when you add the title to the image, they'll be the same size, however when they go to be printed, wouldn't they have to shrink some images to fit on a card size? Therefore the title would be smaller on some and larger on others. How do you fix this problem if you're not using the one background, but just single images on different cards?This message has been edited. Last edited by: Sidewinder, | |||
|
| Silver Card Talk Member |
To see through the box the actor signs in click on the text box hit the Layer tab and hit the Opacity buttom then can can change it to what you want. As far as sizing I scanned in a normal card in order to see what the size would look like. Then matched my background to it. I am still off a little form time to time but now I can eye ball it. Sadly artscow won't make you picture fix the card so you might have to mess with it once done to make it fit the "box" for printing. If you are just using picture like my Chuck cards then I don't get rid of one card till I have started the next that way I can size the next card to the last card and they all look the same. ____________________ Ok 1 more pack then I'am done...no really..wait how many are left in that box? http://1000thghostcards.weebly.com/ | |||
|
| Silver Card Talk Member |
Great, thanks for the tips | |||
|
Member |
Great information! I've been wanting to make some up for a while. Thx! | |||
|
| Bronze Card Talk Member |
I make all of my cards using Paint Shop Pro. You can get an older version of the program on ebay. | |||
|
| Silver Card Talk Member |
I'm away for a few days and I miss this!! great tutorial Chris I am going to have to give it a try, Thanks | |||
|
| Silver Card Talk Member |
I got a message asking how I make my cards so I thought I would bump this thread back up a little. And if anyone here has joined Startiger to send your cards out to get autograph please friend me my handle there is 1000thghost. And we have even set up a group with almost 1000 custom cards you can copy and use. ____________________ Ok 1 more pack then I'am done...no really..wait how many are left in that box? http://1000thghostcards.weebly.com/ | |||
|
| Member |
I just wanted to state that Chris is one of the nicest "online" guys here. I will not go into details for what he did to me, for fear that EVERY one of you may ask him to do the same lol, BUT he sent some very nice home made cards for me. And it was very very nice of him, so thanks Chris!! | |||
|
| Silver Card Talk Member |
lol...no worries. Thanks for the kind words!!! ____________________ Ok 1 more pack then I'am done...no really..wait how many are left in that box? http://1000thghostcards.weebly.com/ | |||
|
| Silver Card Talk Member |
Had someone ask how I made my cards and thought I would bump this back up as it has how I do the Disney cards. I changed the way I do them a little bit but it still mostly the same. ____________________ Ok 1 more pack then I'am done...no really..wait how many are left in that box? http://1000thghostcards.weebly.com/ | |||
|
| Bronze Card Talk Member |
I see a lot of people doing this. Some are even brave enough to sell these home made unlicensed cards at shows and on e-bay. If you are making these for yourself I do not see a problem with that.
| |||
|
| Silver Card Talk Member |
Nope just for my use since cards I want signed are never made. Although several things have been picked up lately. ____________________ Ok 1 more pack then I'am done...no really..wait how many are left in that box? http://1000thghostcards.weebly.com/ | |||
|
| Silver Card Talk Member |
I know this is a boring question, but how do you set about making your own customised cards ? | |||
|
| Powered by Social Strata | Page 1 2 3 |
| Please Wait. Your request is being processed... |
| View $GS_USERNAME's Public Profile | |
| Add $GS_USERNAME to my Ignore List | |
| View Recent Posts by $GS_USERNAME | |
| Notify me of New Posts by $GS_USERNAME |
